
I’ve recently started painting some wall furniture which I featured on my blog “My little DIY project” and I enjoyed it so I purchased a few more and this time I experimented on color as well. I purchased another design of the wall furniture and another one which looked like a jewelry organizer.
Tools: Paint brush, choice of paint, screwdriver, rubber stamp (anything intricate or anything that suits your taste), sandpaper

Rubber stamp and paints featured were purchased from Little Town. They have a wide selection of cure stamps at the counter. 2″ flat brush was purchased from D.I.Y. shop.
I forgot to take a photo of the jewelry organizer before I painted the top part so the second photo featured below is partly painted. These have been sanded prior to painting them.


As you can see on the first picture, I’ve mixed some blue and white paint to create a softer blue. I just kept mixing until I got the shade that I want. I also bought a wider brush and this time the quality is better.
I removed the hinges of the jewelry organizer and I’ve put some tapes on the corners to avoid painting the middle section (which by the way suffered some paint anyway).

I worked on the back this time and painted away. I just kept layering and made sure everything is completely covered in paint.

Here’s the first one I’ve done.


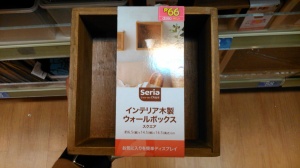
Now for the wall furniture, I’ve worked on the inside first and then I painted outwards.
 After the paint has dried and I’ve put the screws back, I decided to add a personal touch to it. I bought a rubber stamp that has an intricate detail and I’ve used some white paint and stamped it on the back and on the sides. I know the back is not necessary since, well, when you hang it nobody will see it anyway. So anyone can skip this part but it may be good place to test the stamp before you try it on areas which are visible.
Note: Using a rubber stamp may be a bit of a challenge due to the texture of the paint so another option would be a stencil or probably opting for a design with bigger details. The smaller or the more intricate the design gives a higher chance of smudging.
 Personally I think the stamp gave some life to it. It kind of breaks the monotony as well. I hope you enjoyed reading this blog. I’m not a pro so pardon the messy details. It’s fun to do and you should try it too! ^_^


You must be logged in to post a comment.